Wednesday, 10 October 2012

Epidosde I: Return of the Garden Bed

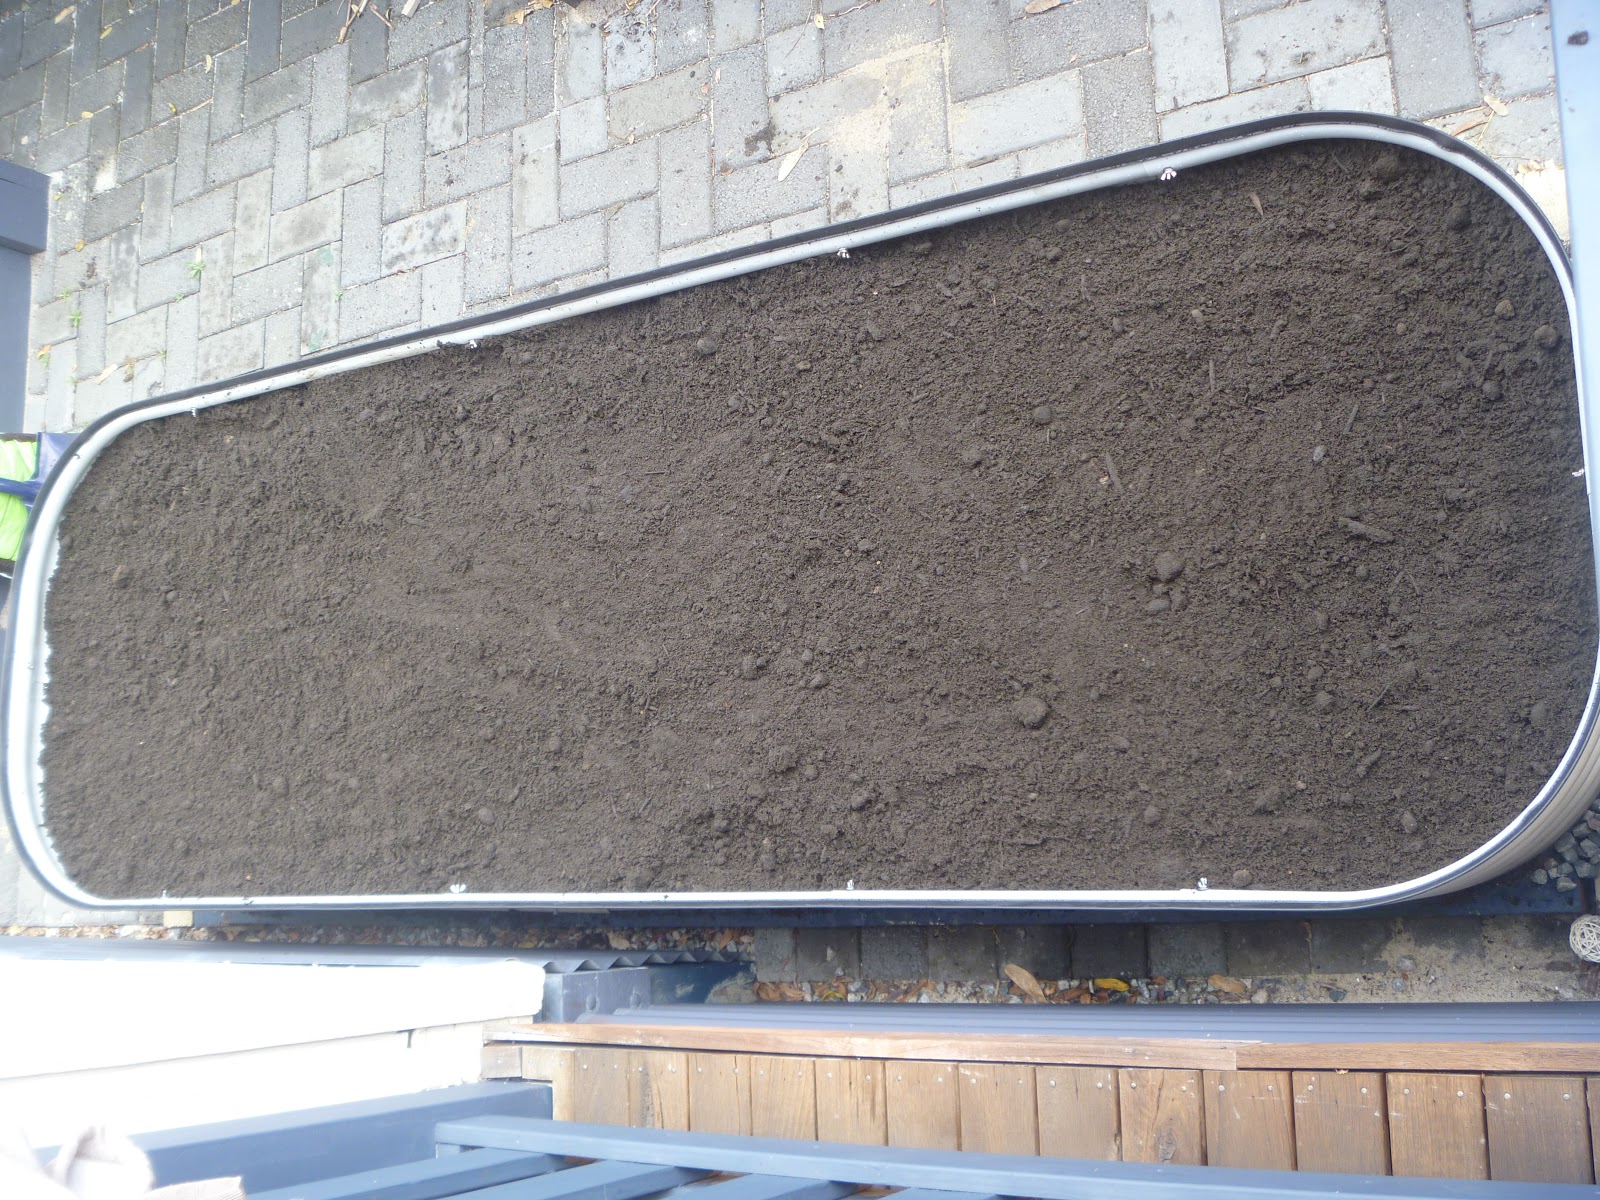
Seeing as my raised bed is currently full, I had a hankering for more space! I kept walking past a little unused corner of my backyard between the back deck and the veggie patch that just cried out for another raised bed. After purchasing my new Birdies raised garden bed kit, began the fun part of assembly and setup!
 (For scale purposes the finished bed measured in at 900x2400x400cm high plus the wooden sleepers we added to the base to increase it's height.) We will be soon adding the reticulation system and then hopefully I'll get to start planting my seedlings. I bought some pre-sprouted peppers and capsicums, and am currently growing some squash and pumpkin from seed in trays. Looking forward to seeing them shoot up so I can get them in the ground. A big thanks to my good friend Mark who came round and helped us out with the sawing, heavy lifting, soil moving and general all purpose handymanning, great job!! :) (Oh and Dave too who always gets roped into my 'little' projects!)
Starting to assemble. Pillow for added comfort.

Finished! Teeny tiny pepper plant for sizing :)

The boys hard at work! (I directed)

Moving the jarrah wooden sleepers into position under the raised bed.

More sawing required

Measurre once cut twice! ...wait I think we got that wrong.

Proud owner of new veggie patch!

Thanks Mark!

Tah Dah! (Sorry about it being sideways, I can't figure out how to rotate photos in here. :P)

Battle of the Beans


So my runner beans have busted onto the scene and out of the string setup I had made for them to climb on as they grew. When planting little baby seeds this setup seemed heaps big enough at the time, but now they are looking sad and overgrown and in need of a spruce up.
Before: Teeny tiny little seedlings. This should do it!
I bought a piece of 1x2 timber and screwed it into top position where origianlly I had just suspended string between the two wooden posts. The string was getting so heavy with beans that the two wooden posts were starting to have a serious lean in towards the bed which caused the strings that the beans were growing up to slouch, and allowing the bottoms of the bean plants to cascade over onto the lettuce and pak choi that was growing in the row along side it. Then once I got the wooden beam in place I restrung all the strings up onto to wooden beam and voila! Happy beans. Happy me. Job done!
Before: string setup suspended between the two wooden posts
During: Crap photo as I didn't actually get the sagging top string

After: Final re-jigging. Wooden top support beam with strings attached to it. Next year we will redesign.


Wednesday, 12 September 2012

Cheese making

Just finished my first batch of cheese making today from the supplies I bought online from Ozfarmer. I tried the whole milk ricotta, and took some action shots along the way. All in all it was very easy, and seemed to set up very well. I bought a cheese making kit and a cheese making book, and this seemed like the easiest cheese to start with. This batch used two litres of full cream homogenized milk, and made two individual cheese molds about the size of a teacup each (I couldn't be bothered weighing the end result). For one of them I made a homemade herb crust to go on it, with salt, pepper, chives, oregano, dill, parsely, and thyme. All of which were homegrown I must admit. :) I have some friends coming round tonight, so we'll get their opinions on what they think of the cheese! 
Cheese making supplies
Next project I think will be homemade ginger beer. :)


Milk up to temperature!
Adding the citric acid with coagulates the milk

Curdled!

Once the curds and whey have sat for about two hours to firm up


Ricotta in it's draining tray/mold thing

Fresh herbs for the crust


The final product! :D


Tuesday, 4 September 2012

Worm farm and transitions meeting

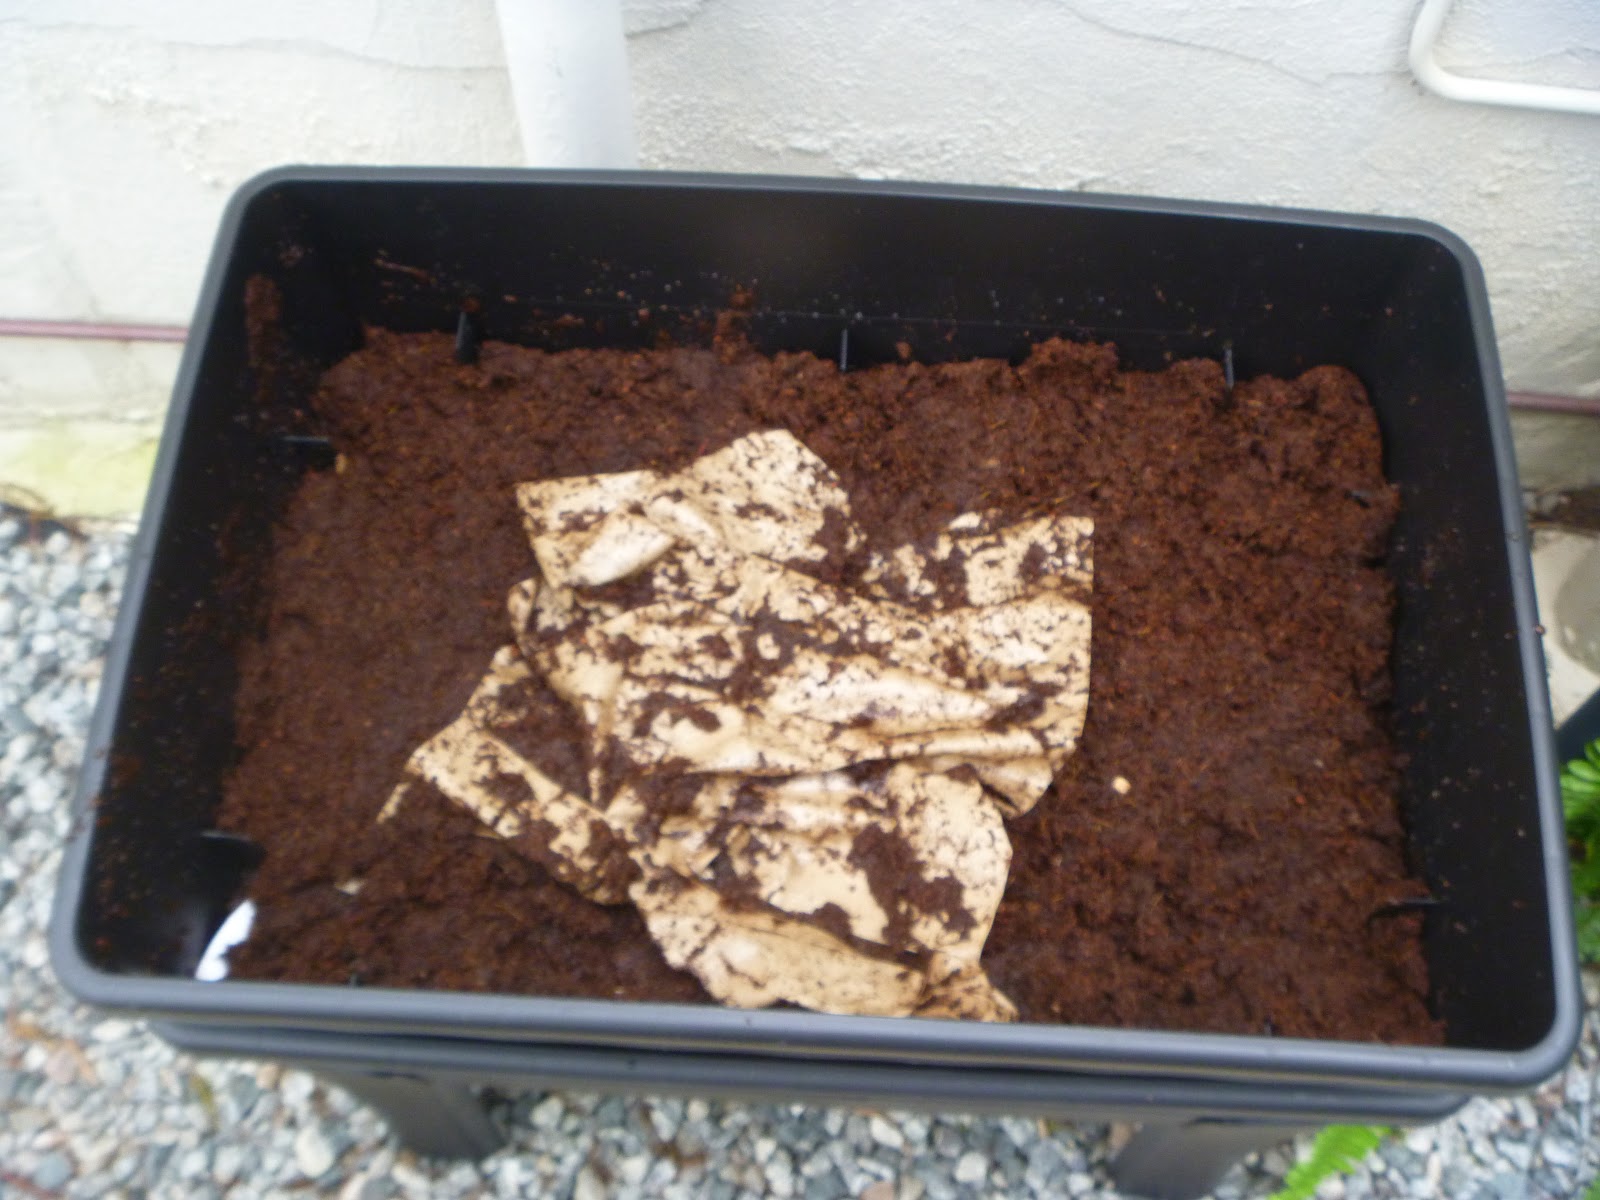
Worm farm pre-production. Bucket on left has the coconut coir bedding you soak in water
Put together my worm farm the other day, these are a few shots to show how it went together. It was all in all very easy, and only took about half an hour from start to finish, and it's already got it's first batch of veggie scraps from cooking last night to munch on.:)


Coconut bedding once in the farm

Worms in their new home

The worm was ready for his close up.

Worm blanket that goes on top

Finished product!
I went to my first Guildford Town Transitions Kitchen Gardeners Society meeting on Sunday afternoon hosted at Andy & Rebecca's house to help them fill and plant three new raised garden beds. There was a good turnout, of probably around 20 people. We all had a bit of a chat and I got a chance to get acquainted with a few of the members. Because we had so many volunteers the actual hard labour was done in less than an hour I'd say, and then we had an afternoon tea brought by members. I brought a jar of my homemade tomato sauce, freshly brined olives and some extra lemons off our tree. I took home with me some oranges someone else brought to the sharing table. All in all it was a very fun afternoon getting to meet other people with similar goals and interests and look forward to going to my next one!
meet and greet

the boys mucking in


tomato stakes going in with Sophie (hosts two year old daughter) helping

Lots of hard work being done ;)

Last of the seedlings going in

Sophie watering some of her new veggies

Saturday, 1 September 2012

Worm farm

Went to Bunnings today and as usual had three things on out list, but ended up with a shipping trolley full to the brim of household items that we apparently needed but didn't know about before we actually got there. I got a worm farm which I had been after for ages but never got round to buying, which I was very pleased with. I got the "Worm Cafe" which has three separate tiers for worms and looked big enough to meet our requirements. I'll set it up tomorrow morning before heading off to my very first Guildford Transitions meeting which I'm looking forward to. We're off to a members house who is starting off her vegetable garden for the spring and we're going over to help her plant it all out. Should be good fun to meet other people around the area with similar outlooks and aspirations. Will be nice to get some advice on plants, soils, etc. as well!
Will update more once I get back. :)

Monday, 27 August 2012

Spring time!

Before: Front of house with giant ferrel bottlebrush shrub.
After: Front of house after bottlebrush has been removed!
Now that spring is here I've been trying to get the outside of the house a bit more presentable and productive all at the same time. Here are a few shots around the place today to show some of the progress so far. I'm hoping to turn most of the front yard into veggies, and already taken out the horrible looking grass plants in the front yard and replaced them with tomatoes (photos below). The new herb garden I made using the strip of dirt between our house and our rear neighbours looks pretty good, and I'm pleased with using wasted space and turning it into something productive. So enjoy the photos and I'll try and post more soon! :)
Tomato bed freshly planted directly in front of front door.

Before: Weedy bit of dirt between our driveway and the neighbours


After: Lovely herb garden full of jalapenos, basil, parsley, dill, oregano and coriander


Runner beans!
Raised garden bed around side of house. Seedlings just sprouting


Apple blossom

Tuesday, 3 July 2012

New House!


So we bought a house, yay! Now comes the fun part where I can start making it fit our needs. My plan is to get as much sustainability on our block as possible, and I've started the process by ripping out some old bushes that were lining our back fence line to make room for some fruit trees I bought at a local nursery. I got a dwarf apricot tree, dwarf fuji apple tree, dwarf sundowner apple tree, and a miniature sweet cherry tree. (I'm very excited about my cherry tree, as it's a new self pollinating variety and apparently much easier to grow than older varieties that were supposedly very hard to grow and fruit.) These get added to my growing collection of fruit plants which now include all the above plus my kaffir lime tree, two blueberry bushes, raspberry and blackberry bushes, cameron apple tree, navel orange tree, miniature lots'o'lemons bush, and already established lemon and olive trees that came with the house.

Back fench after ripping out old bush

L to R - Fig tree, navel orange tree, dwarf apricot tree


Established lemon tree that came with the house

Sally inspecting my handywork

Olive tree
Lemons that are ready for picking!

Ripe olives!

Planted navel orange tree

Lots'o'lemon bush


My helper extraordinaire!