Showing posts with label gardening. Show all posts

Sunday, 11 August 2013

Crop Rotations and Fruit Plantings

With spring rapidly approaching it's time to start getting things ready for planting the new summer crop for 2013/14. With all the raised beds now built and ready to go, this will be the first summer season of full produce production potential. We also finished planting some of the last fruit trees around the back fence that we have room for, that being one dwarf avocado tree and a second dwarf peach to add to the one we already have planted that we received as a wedding present last season. I also stumbled across a very interesting program that lets you map out your garden plot, to keep yourself organized when it comes to crop rotations, plant spacings, etc. I've been having far too much fun playing around with it the last couple days and this is what I've come up with for what I'll be planting for this upcoming spring/summer season. I haven't had enough time to figure out all the cool tricks but so far find it useful just to keep me on track of what I need to plant where and how many for the size of the beds.
So that's what the gardens look like on paper... I thought I'd take a few pictures to show what it looks like in reality.

Bed 1 -Two varieties of lettuce and two rows of carrots
Bed 2 - Snow peas, broad beans and sugar snap peas
Bed 3 - The remaining kohl rabi, broccoli, cabbage and kale. Most of it will be pulled out and used shortly to make way for the new spring crops.
Bed 4 - Just planted zucchini, pickling cucumbers and pumpkin yesterday.
Bed 5 - This bed is still going quite strong from last year, most likely will keep the rainbow chard and fennel in until it stops producing, and plant the remainder of the bed with the new crops.
Bed 6 - Parsley and chives growing well, so again will plant around them with new season crops
Bed 7 - Onions and garlic bed growing well. Will look forward to tasting our first crop of both!
Bed 8 & 9 - Potatoes are growing insanely well. Dave is super excited to try his first home grown crop as he's been involved with these every step of the way. He's so cute when he gardens. :)
Bed 1

Bed 2
Bed 3


Bed 4
Bed 5
Bed 6
Bed 7
Beds 8 & 9

Wednesday, 3 July 2013

The Handy Girls Can Do It!

After planting some climbing peas and broad beans came the question of what they were going to grow up. I had made some climbing apparatuses in the past for climbing peas, but they didn't really stack up all that well once the peas took off as they usually slumped under the weight of the plants. So it finally came time to make a more sturdy, long lasting device that my plants could grow up and that I could use season after season.
I came across plans online to make an A-frame trellis which seemed simple, sturdy and looked nice, so on Sunday, Dave and I went to Bunnings, picked up all the bits and pieces we needed to build the first test trellis to see if I liked it before building the next two.
Seeing as I'm uni holidays at the moment, I decided why wait for the weekend when Dave could help and build it myself! Dad has always taught me to use power tools with confidence (or at least with a healthy respect for the fact fingers saw off just as easily as timber) so I plucked up the courage and got to it! It took me two afternoons of working on it, and I think it turned out pretty darn well!

Three things I learned from this project:

1. Measure twice and cut once. At the beginning as I was figuring out where to cut the wood that would become the top and bottom pieces. I plugged into the calculator 2.8 meters when it actually was 1.8 meters, it was only as I was about to cut it I thought, 'Hey, wait a minute that doesn't look right!'. I am very thankful I went back again, remeasured and fixed it before cutting or I would have been super annoyed.

 2. When making a square, 'almost square' doesn't quite cut it. I got it pretty close, but then when attaching the hinges noticed they didn't line up quite right. Thankfully you can't notice it when it's standing in the garden but it's something to keep in mind for next time.

3. Listen to your mother when she says to wear work gloves when working with chicken wire. That stuff is evil! Whoever named it 'chicken wire' was way off. They should have called it 'razor sharp metal sheet of death wire'. That would have been more accurate. On day two I wore gloves.

All in all I am very proud of my garden trellis even if it's not perfect, as this is the first wood working project I've completed entirely on my own with no help from either Dave or my dad. Here are some pictures of the building process along the way.

Cutting all the boards so they were all the exact same length


First side of trellis screwed together

First side with aforementioned evil chicken wire.

Second side with the wire adding process in mid staple

The two sides lined up with hinges on

Tah dah!

Placed in the garden!


Tiny little pea seedlings ready to climb!


Tuesday, 9 April 2013

Growing steadily

Updates of front garden plants and finally started mulching the beds at last! All the plants seem to be doing really well, and I've started harvesting decent amounts of rainbow chard and radishes so far, with Emma taking home some radishes and a beetroot on her last visit round. Not much else to report on the gardening front, just watching the plants grow (literally). Enjoy :)

First eggplant flower

eggplant leaf, substantially bigger than my hand!

First mulched bed


cucumber!

cheesy self portrait with my beautiful veggies.


Sunday, 17 March 2013

Update as Promised

Sorry about being a little slack on the blog updating lately. Going back to uni lately has taken up a large chunk of my time which leaves me little time for things like blogging and general fun stuff. But, I figured it was about time to put a quick little update about what's been happening around here.

Most notably is the fact that we finished irrigating all the beds, including around the pond and the herb spiral which means I don't have to go out there every single day and water everything which is nice, as I can spend that amount of time doing other garden tasks like fertilizing, weeding and replanting of seedlings that got killed off by the heat.

Yesterday Transition Town Guildford held a very successful event, a bicycle treasure hunt through Guildford. Teams of both adults and families gathered to receive their clue sheets, and then headed off to search out the answers found in and around Guildford and make it back within an hour. The more questions biked to and answered the more chance to win some of the $500 worth of prizes we had on offer! We had a first place prize for families, adults, and a best dressed bike. We had a great turnout of nearly 50 people and everyone had a great morning biking around searching out clues! Best dressed bike went to a family who all dressed up as pirates and even decorated their bikes into pirate ships. Great effort!

Ok, on to the pictures! Enjoy :)
The uploader thing only seems to let me upload these two for now for some reason, more to come once it settles down.

L to R: Kohlrabi, Broccolini, Radish, Kale
Eggplant, Chillis, Peas

Monday, 4 February 2013

Final Front Garden Bed

Last weekend Dave and I put together the final raised bed for the front yard, and this weekend will be the leveling and filling. After this last bed is in then it's onto irrigation and laying down the pebbles in between the raised beds, then the picket fence and the front yard will be all done! Yay!
Once the front yard is all finished I'll have some more time to work on my back garden beds and fruit trees, and also to work on other things like canning, cheese making and fun stuff like that!
But for now here's some photos of the building and placement of the newest bed.


Herb spiral growing steadily

Top to bottom: Lettuce, tomatoes, chives, parsley & coriander

Top to bottom: Fennel, carrots, parsnip, beetroot & rainbow chard

Top to bottom: Kohl rabi, cabbage, broccolini, radish, kale

Peas, beans & hot peppers

Newest garden bed placed but not yet leveled or filled


Wednesday, 10 October 2012

Epidosde I: Return of the Garden Bed

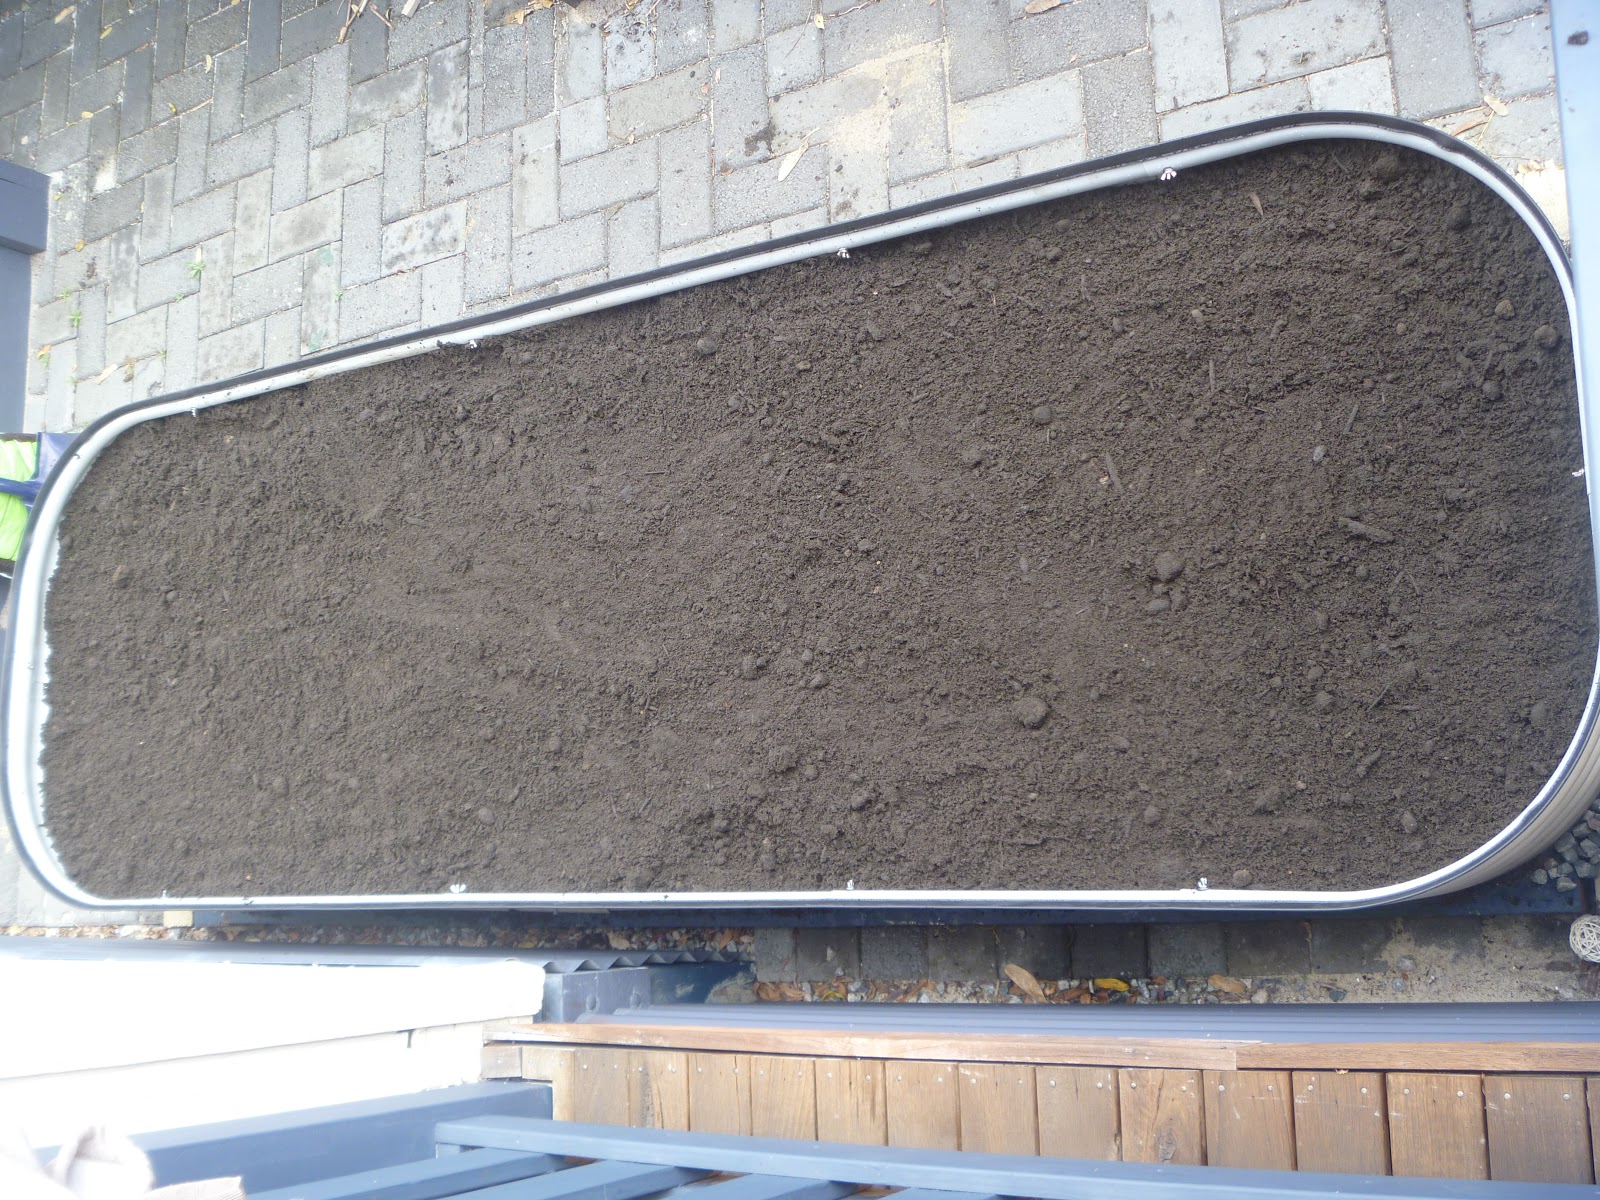
Seeing as my raised bed is currently full, I had a hankering for more space! I kept walking past a little unused corner of my backyard between the back deck and the veggie patch that just cried out for another raised bed. After purchasing my new Birdies raised garden bed kit, began the fun part of assembly and setup!
 (For scale purposes the finished bed measured in at 900x2400x400cm high plus the wooden sleepers we added to the base to increase it's height.) We will be soon adding the reticulation system and then hopefully I'll get to start planting my seedlings. I bought some pre-sprouted peppers and capsicums, and am currently growing some squash and pumpkin from seed in trays. Looking forward to seeing them shoot up so I can get them in the ground. A big thanks to my good friend Mark who came round and helped us out with the sawing, heavy lifting, soil moving and general all purpose handymanning, great job!! :) (Oh and Dave too who always gets roped into my 'little' projects!)
Starting to assemble. Pillow for added comfort.

Finished! Teeny tiny pepper plant for sizing :)

The boys hard at work! (I directed)

Moving the jarrah wooden sleepers into position under the raised bed.

More sawing required

Measurre once cut twice! ...wait I think we got that wrong.

Proud owner of new veggie patch!

Thanks Mark!

Tah Dah! (Sorry about it being sideways, I can't figure out how to rotate photos in here. :P)

Monday, 27 August 2012

Spring time!

Before: Front of house with giant ferrel bottlebrush shrub.
After: Front of house after bottlebrush has been removed!
Now that spring is here I've been trying to get the outside of the house a bit more presentable and productive all at the same time. Here are a few shots around the place today to show some of the progress so far. I'm hoping to turn most of the front yard into veggies, and already taken out the horrible looking grass plants in the front yard and replaced them with tomatoes (photos below). The new herb garden I made using the strip of dirt between our house and our rear neighbours looks pretty good, and I'm pleased with using wasted space and turning it into something productive. So enjoy the photos and I'll try and post more soon! :)
Tomato bed freshly planted directly in front of front door.

Before: Weedy bit of dirt between our driveway and the neighbours


After: Lovely herb garden full of jalapenos, basil, parsley, dill, oregano and coriander


Runner beans!
Raised garden bed around side of house. Seedlings just sprouting


Apple blossom