Wednesday 31 October 2012

One afternoon, two garden beds

After working to create a brand new veggie garden for Men of the Trees yesterday it inspired me to get working on my own garden here! Earlier in the week Miles and I staked out where all the raised beds will go in the front yeard, but one bed placement was being impeded by my kaffir lime tree (the little tree in between the two shrubs in the top photo). So I decided to reuse one of the square raised garden beds I had at the old Yokine rental house, to fit in between the kaffir lime and where the other raised bed in planned to go.
Here are some photos of the process...
Before I started. Ground slopes up in two directions so some shoveling was required

First attempt of leveling the bed by raising up one corner to be higher, but I was worried soil would leak out the bottom over time, so I decided to dig in the one corner into the hillside instead.

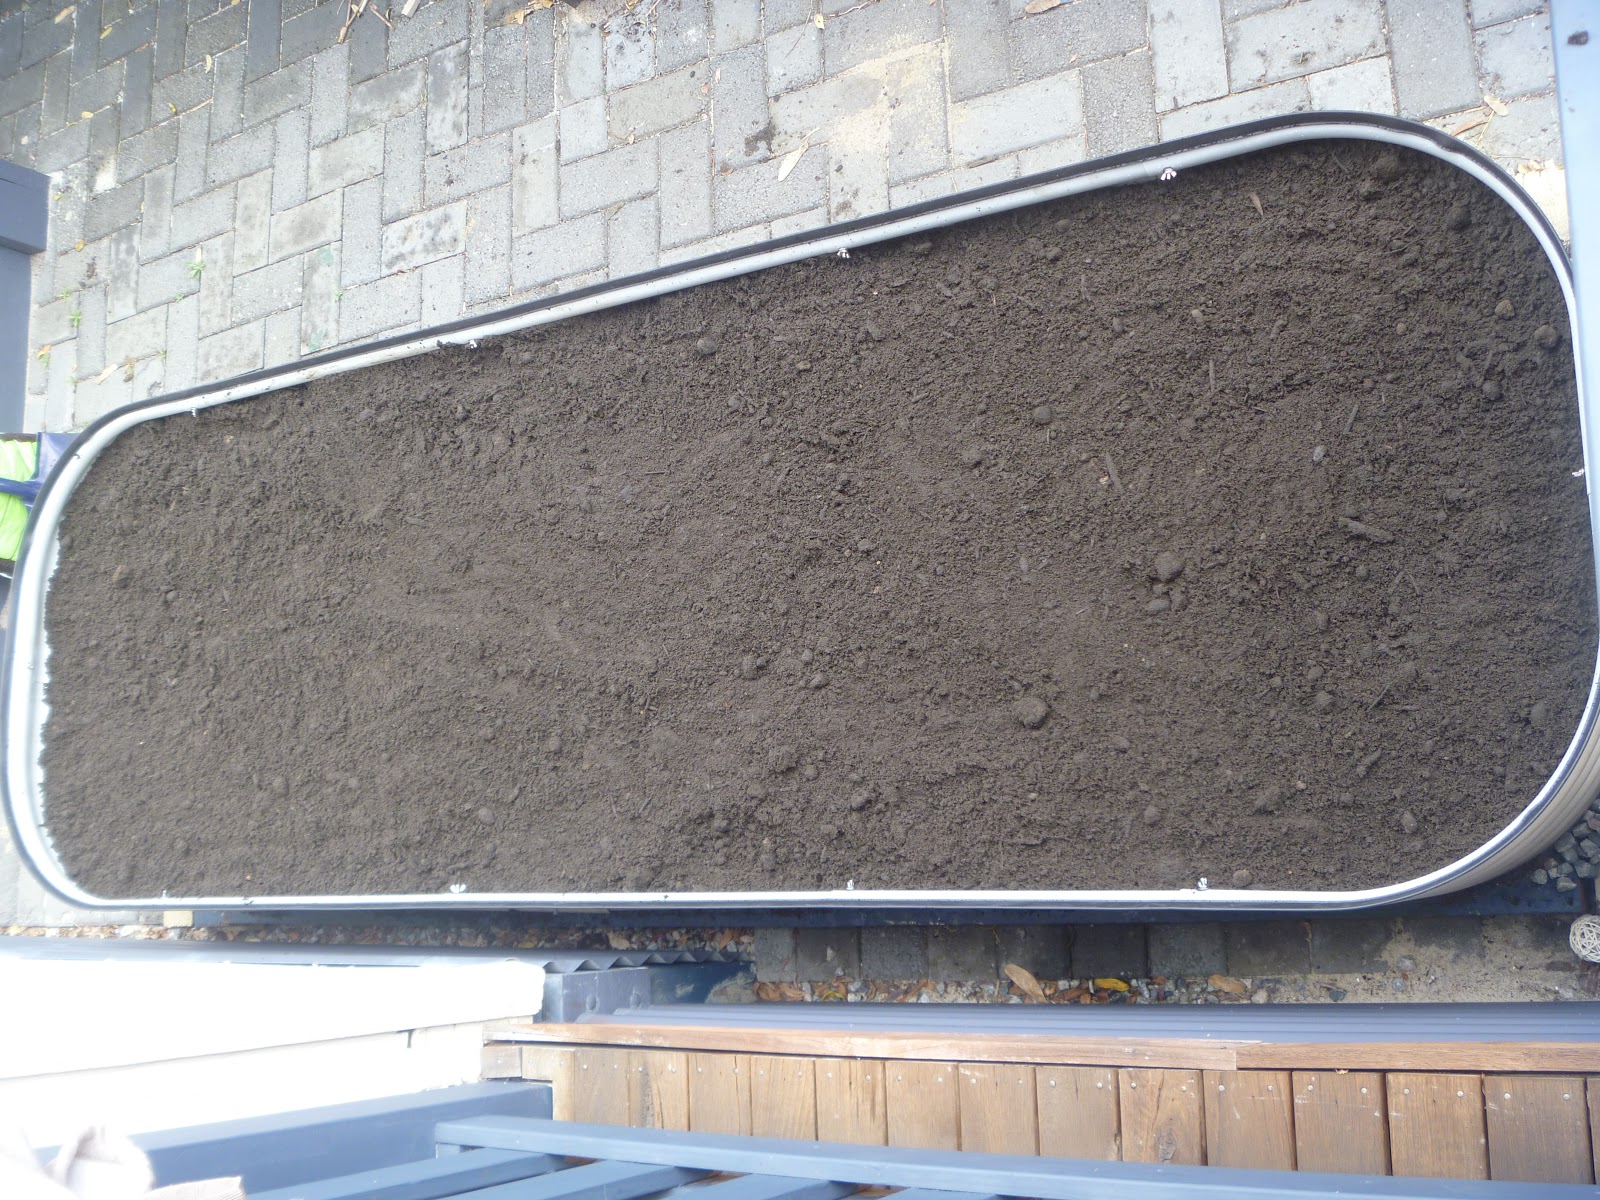
Final bed placement properly leveled, and filled with soil.

Seedlings planted! Spaghetti squash & pumpkins


I had a few too many seedlings for just the front yard, so I planted the leftovers in the second square bed that Dave filled up with soil round the side of the house that was just sitting there. So there, everything planted!! Time for a drink.

MOTT Community Garden

Today some of the members from kitchen gardeners society went to Men of the Trees nursery in Henley Brook to work on making a community garden part of their existing native seedling nursery. Along with some City of Swan volunteers and Adele from MOTT we had a super force to get down and dirty to transform a patch of unused lawn into a edible work of art! I'm not exactly sure who came up with the wagon wheel design for the garden, but it looked amazing when finished and much more interesting than standard box shaped garden beds. 
Along with getting a heap of work done, we also got lots of excitement by being chased by bees housed nearby with poor Steve getting the majority of the bees wrath. We got up to planting seedlings into the center corrugated iron raised bed and some herbs in the giant tractor tire wheel. The main wagon wheel beds still need some additional soil improvement before plants can go in, but we were running low on soil improver so those were left for another day. Here's hoping the crew at MOTT take what was started today and run with it into a productive, edible plot!
How things looked when I first arrived, work already in progress.


Digging trenches for the wooden beams to go into to create the garden edges

Wooden garden edges finished going in

The girls hard at work!


Soil and mulch being added to the main raised bed

Steve and Pete pre-bee attack looking happy and unstung.

Happy gardeners!

Soil going in


Some of the MOTT volunteers having a sticky beak shortly before the bee attack!


Moving tire into position

Seedlings!

Garden paths after gravelling

Kitchen gardeners after a great effort!


The crew!

Thursday 18 October 2012

This is going to take awhile...

I have been slowly working on turning my front yard from the ugly sandy mess it is now into three lovely terraced garden beds. I started growing the veggies to sow into them about three weeks ago, and now that most of them have sprouted and are looking strong enough to get into the ground the time has come get the garden beds ready to go. I had started ripping all the old weeds out last week, but this proved extremely time consuming and a killer on the back, so took ages to get it done. Thankfully I finished that horrible job today for the first terrace and now can move onto actually making the supports to keep the dirt in place and start wheeling in the nice soil I had delivered a couple weeks back.
Here are a few action shots of how it's all shaping up. Now I need to level out the terraces as they slope up in both directions, which should prove an interesting challenge.
Before the weeding and turning over of soil


Nearing the end of tedious amounts of weeding

String for leveling and starting to level the bed


 Next: To figure out how to make the terrace supports! Bunnings here I come...
Enjoy :)

Wednesday 10 October 2012

Epidosde I: Return of the Garden Bed

Seeing as my raised bed is currently full, I had a hankering for more space! I kept walking past a little unused corner of my backyard between the back deck and the veggie patch that just cried out for another raised bed. After purchasing my new Birdies raised garden bed kit, began the fun part of assembly and setup!
 (For scale purposes the finished bed measured in at 900x2400x400cm high plus the wooden sleepers we added to the base to increase it's height.) We will be soon adding the reticulation system and then hopefully I'll get to start planting my seedlings. I bought some pre-sprouted peppers and capsicums, and am currently growing some squash and pumpkin from seed in trays. Looking forward to seeing them shoot up so I can get them in the ground. A big thanks to my good friend Mark who came round and helped us out with the sawing, heavy lifting, soil moving and general all purpose handymanning, great job!! :) (Oh and Dave too who always gets roped into my 'little' projects!)
Starting to assemble. Pillow for added comfort.

Finished! Teeny tiny pepper plant for sizing :)

The boys hard at work! (I directed)

Moving the jarrah wooden sleepers into position under the raised bed.

More sawing required

Measurre once cut twice! ...wait I think we got that wrong.

Proud owner of new veggie patch!

Thanks Mark!

Tah Dah! (Sorry about it being sideways, I can't figure out how to rotate photos in here. :P)

Battle of the Beans


So my runner beans have busted onto the scene and out of the string setup I had made for them to climb on as they grew. When planting little baby seeds this setup seemed heaps big enough at the time, but now they are looking sad and overgrown and in need of a spruce up.
Before: Teeny tiny little seedlings. This should do it!
I bought a piece of 1x2 timber and screwed it into top position where origianlly I had just suspended string between the two wooden posts. The string was getting so heavy with beans that the two wooden posts were starting to have a serious lean in towards the bed which caused the strings that the beans were growing up to slouch, and allowing the bottoms of the bean plants to cascade over onto the lettuce and pak choi that was growing in the row along side it. Then once I got the wooden beam in place I restrung all the strings up onto to wooden beam and voila! Happy beans. Happy me. Job done!
Before: string setup suspended between the two wooden posts
During: Crap photo as I didn't actually get the sagging top string

After: Final re-jigging. Wooden top support beam with strings attached to it. Next year we will redesign.